写在前面
win10 支持 wsl 后编程体验取得了大幅提升,我也不用必须必须双系统留个 windows 只用来玩游戏了。但是和 mac/linux 比较起来,windows的默认terminal还是丑得无法直视。 好在微软也终于意识到了这个问题推出了新的命令行工具,现在已经能在GitHub 自行下载编译或者去Windows Store下载preview版体验
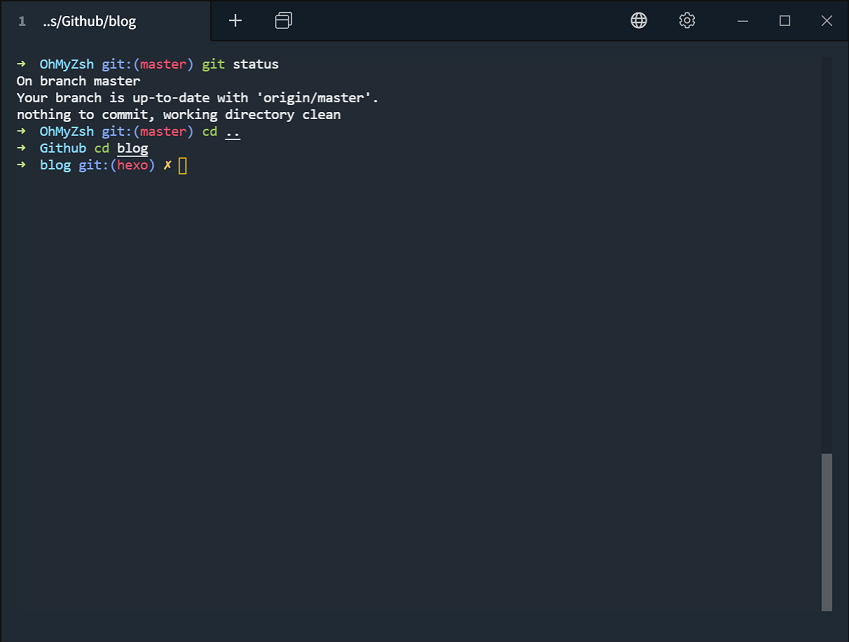
但是由于当前还在开发阶段不适合作为日常主力使用,今天介绍的是我当前在win下开发时用到的方案: WSL + Hyper/Terminus + ZSH
因为这篇主要是给自己参考的,所以会中英文混合难以照顾每个人的阅读习惯,我意识到的地方会尽量注意. 关于zsh部分我会基于我最常用的mac/linux环境下再写一篇详细介绍,敬请期待
WSL
Follow the very thorough instructions here
Hyper
Hyper 是一个开源的、全平台适用的、有着丰富主题和插件的现代化终端。又由于 Hyper 是基于 Electron 的,所以它的插件、主题等等可拓展性都非常强大。几行简单的 Javascript, HTML, CSS 代码,你就甚至可以定制自己的插件。
下载地址在官网:https://hyper.is
安装 Hyper 终端插件十分简单,打开 Hyper 之后一行代码搞定:
hyper i verminal这样就安装了 verminal 这个插件。 Hyper 的官方推荐全部插件在这里可以找到 –> https://hyper.is/plugins Hyper 的官方推荐全部主题在这里可以找到 –> https://hyper.is/themes
Automatically open in Bash:
- Open up Hyper and type
Ctrl+, - Scroll down to shell and change it to
C:\\Windows\\System32\\bash.exe
Terminus
Terminus 同样基于electron全平台适用,这种应用缺点自然是不如native快了,但是实际使用除了启动那一下影响不大
这款也是我实际在使用的,相比较下ui更符合win设计规范设置有ui界面使用起来也更友好一些, 因此相比hyper我更推荐这个
下载地址: 官网
ZSH
Install Zsh
- Run this
sudo apt-get install zsh - Open your bash profile
nano ~/.bashrc - Add this to set it to use ZSH as default:
if [ -t 1 ]; then
exec zsh
fi
Oh My Zsh :让zsh开袋即食
-
Install Oh My Zsh
sh -c "$(curl -fsSL https://raw.githubusercontent.com/robbyrussell/oh-my-zsh/master/tools/install.sh)"- Read docs here on how to add more plugins and change themes (I went with their out of the box ‘robbyrussell’).
-
修改~/.zshrc, zsh设置参考zshrc-win
-
Zsh Syntax Highlighting:zsh高亮插件推荐
- Follow the steps here to get it up and running.
-
Zsh Auto Suggestions: 自动补全插件推荐
- follow the Maunal instructions here.
Fix the ls and cd colours
ls的配色在wsl下会有些问题比较难看,下面给出修复方案
Out of the box when you ls or cd + Tab you get some nasty background colours on the directories. To fix this, crack open your ~/.zshrc file and add this to the end:
#Change ls colours
LS_COLORS="ow=01;36;40" && export LS_COLORS

#make cd use the ls colours
zstyle ':completion:*' list-colors "${(@s.:.)LS_COLORS}"
autoload -Uz compinit
compinit
Git
- Run this
sudo apt update - Then run
sudo apt install git
Node
先安装nvm(node版本管理),再安装需要版本的node
curl -o- https://raw.githubusercontent.com/creationix/nvm/v0.33.0/install.sh | bashNow if you are using zsh, run vim ~/.zshrc and add the following at the bottom,
export NVM_DIR="$HOME/.nvm"
[ -s "$NVM_DIR/nvm.sh" ] && \. "$NVM_DIR/nvm.sh"
And restart bash, and then run
nvm install nodeThat will install the latest, if you wish to install a specific version (I prefer to be on LTS)
nvm install v6.11.5